Tuesday, February 28, 2012

Time for Plan B

I was at Hobby Lobby today and had to make a difficult decision. I had started a craft project a few months ago and made a terrible mistake. I had been stalking the scrapbook section at my local Hobby Lobby for months waiting for certain page. Sadly, the spot remained empty. Today I decided to purchase a different paper today and hope it work well with the existing paper. What exactly is the project I am talking about? Well, it's tutorial time!

My mom had purchased letters at Hobby Lobby that spell out my name. The plain white boring letters where starting to look depressing and since I'm not much of a painter I chose to cover them with scrapbook paper.

Here's how I did it:
I began with my remaining letter and the new paper I chose.
I traced the M on to the back side of the scrapbook paper. (Make sure the back side of the letter is facing you as well, this is where I messed up the first time...)

Now you have a copy of your letter. You will modge podge the paper to the letter.I used two coats on the wooden letter before I applied the paper and another two on top of the paper to make it stick.

After the glue dried, I trimmed the overlap. I suggest using a small razor or scissors. 

Here is my finished M!


Here is all three letters together. I'm pretty proud of my myself for picking out a good matching paper.


Here's the far away view. Hope you enjoy this! 


Friday, February 10, 2012

If You Can't Find It, Make It!

I love having my monogram put on items. I have it put on everything, from pullovers to scarves to bags, even my eye mask has it on there. A little crazy you say? Well, my mom just happens to own an embroidery business! So I get everything down. However, there are a few items she can't do; such as pre-made pillowcases. And the ones you can buy are super expensive. So I made my own and decided to show you how to make your own pillowcases. So let's begin!


So I started with two different fabrics: the piece for the cuff I cut to be 11 x 41 inches, and the body to be 26 x 41 inches. Now you can use scrap fabric and they don't have to measure up to my measurements as long as they fit a standard pillow cases.

I had the body and two cuff monogrammed because I own three pillows for my bed. So I'm going to have two different ways for you to make the pillowcases.

First way:
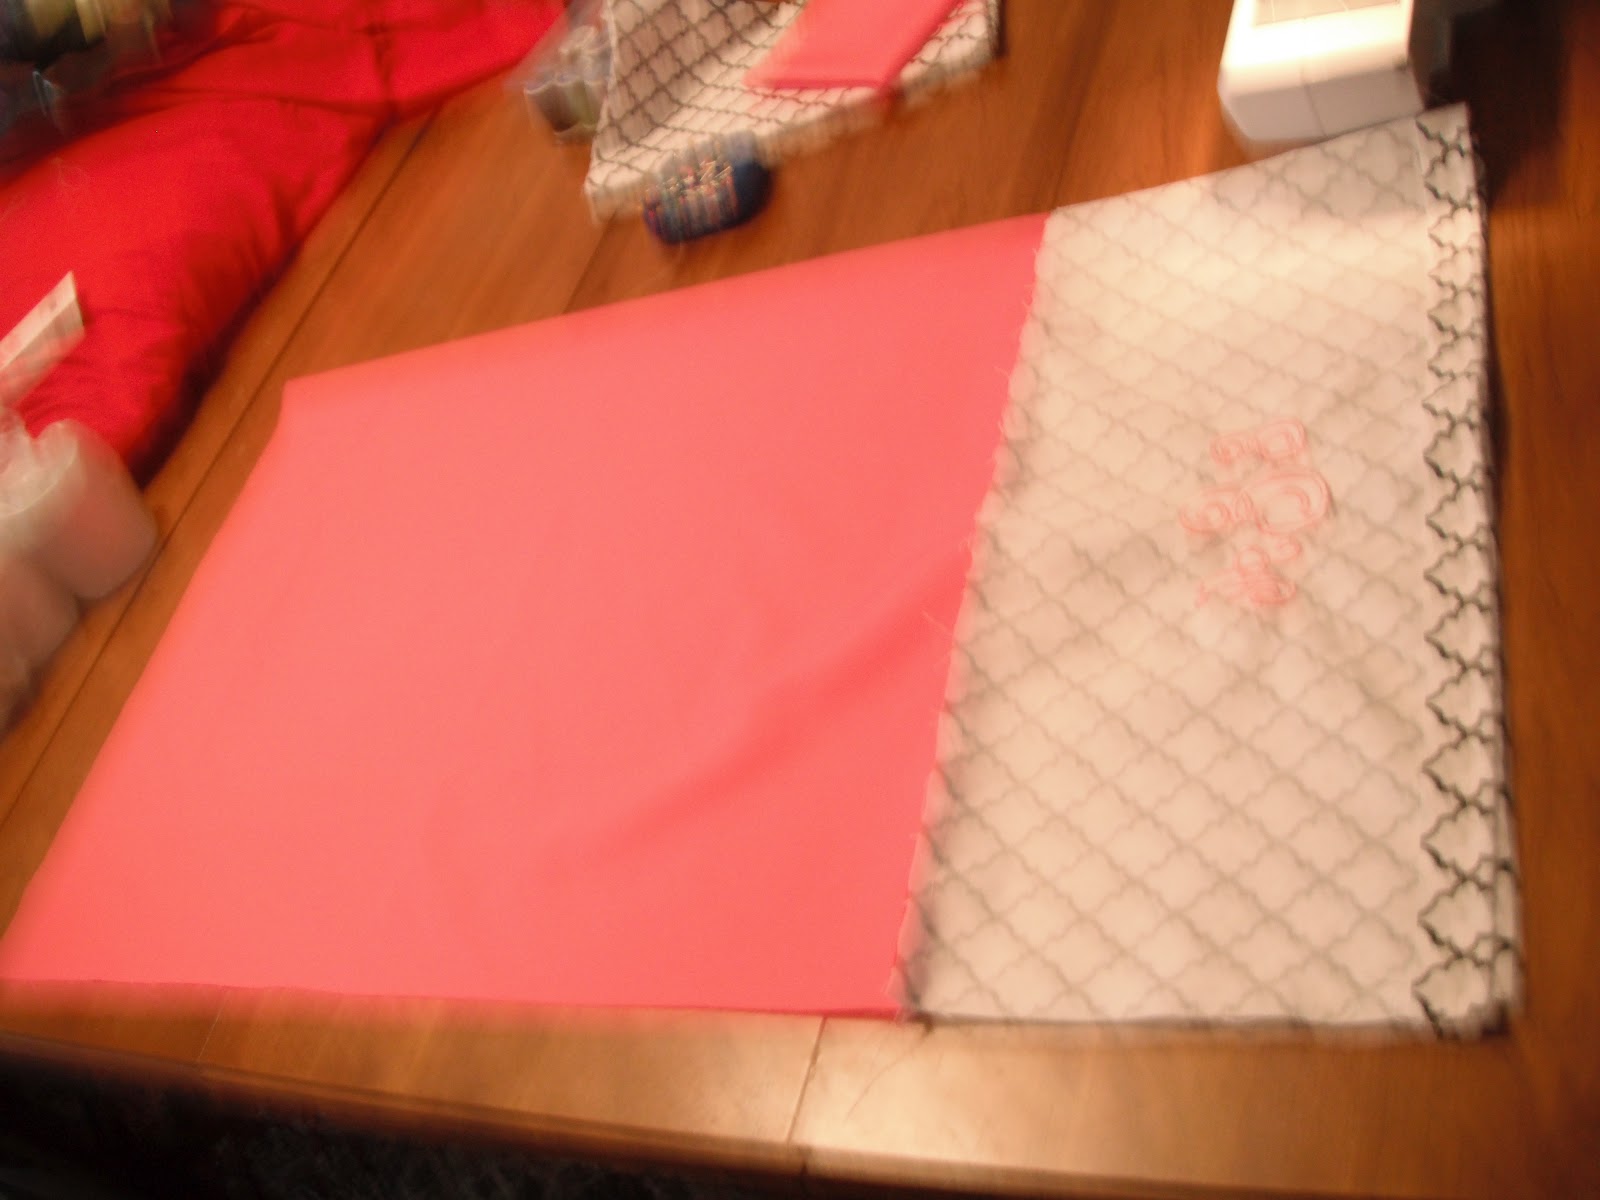
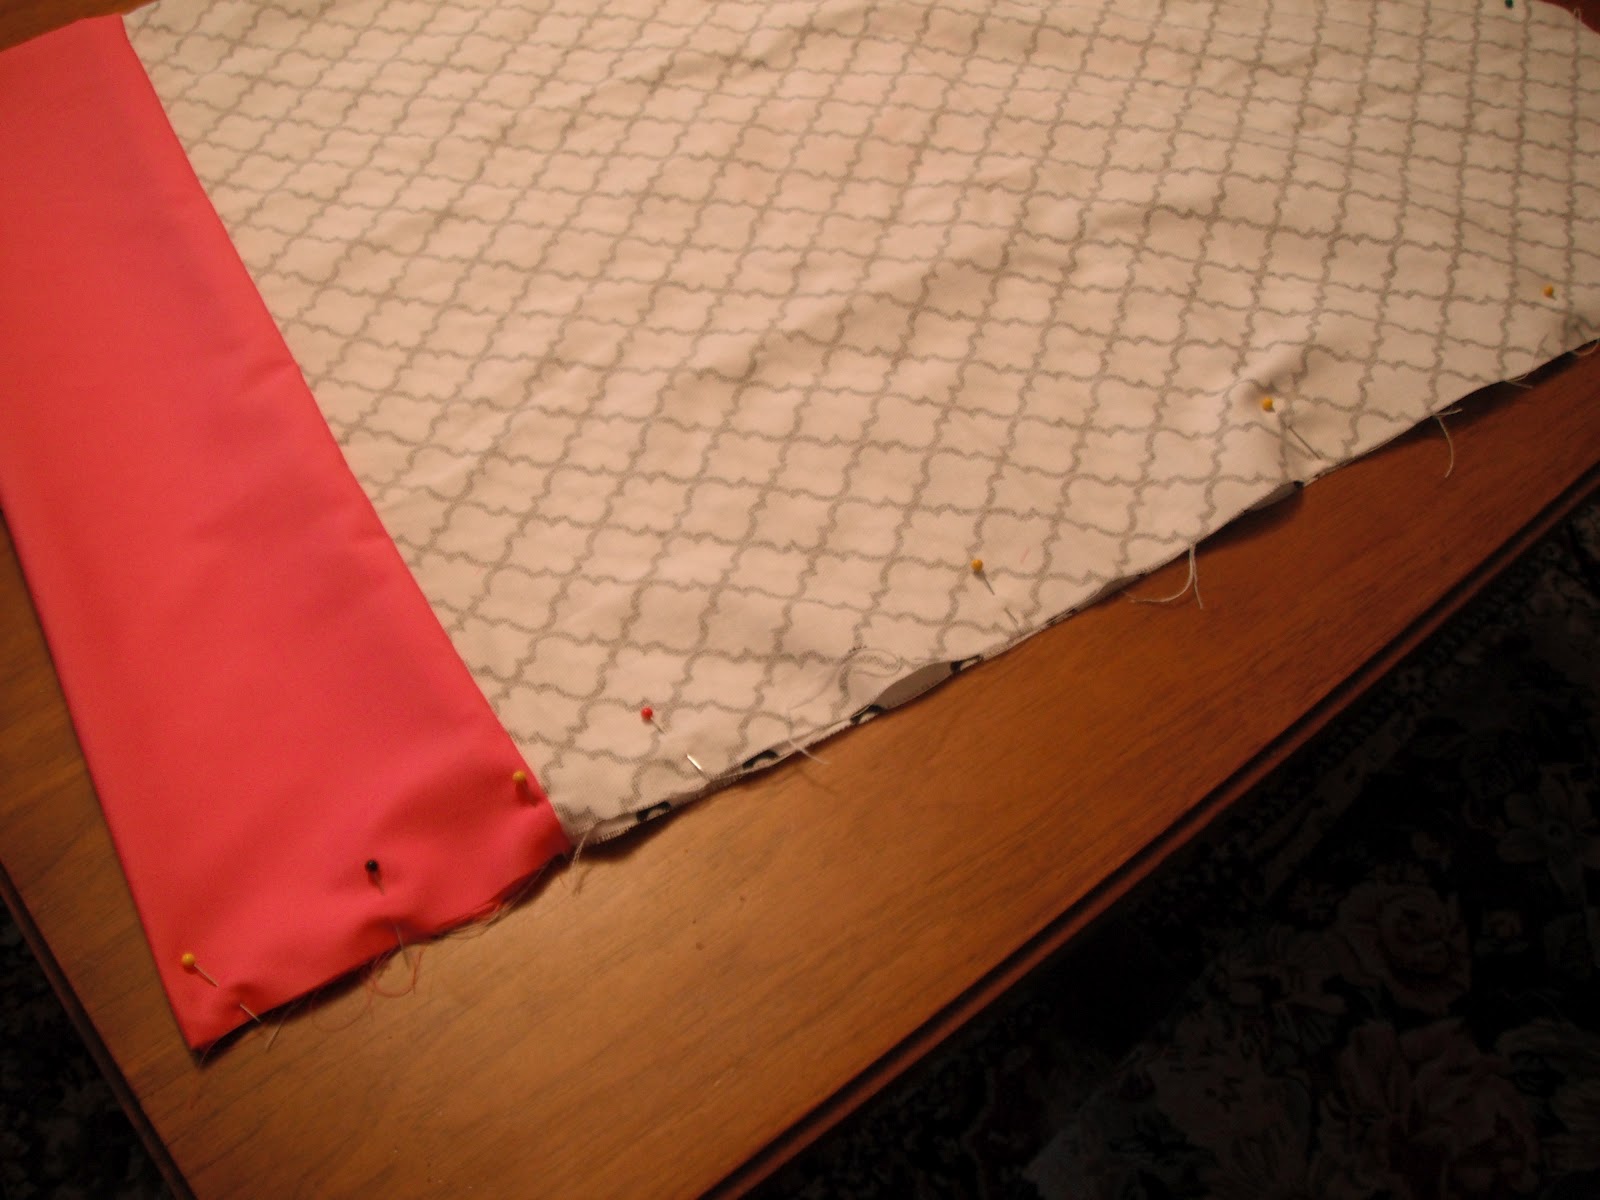
Pin the right side of the body and cuff fabrics together on the 41 inches side.


Now, sew it together like so.

After sewing, your pillowcase should begin to look this the above and below picture (minus my monogram).


I then hemmed the cuff by sewing an inch inseam. Your inseam can be whatever size you want, mine just had to make sure the monogram was centered.


After hemming the cuff fold the pillowcase in half with the right side facing in.


Pin the side and end where the pillow will not enter the pillowcase.


After you sew, turn inside-out and press. First way is done.
Second Way:

For this way, pin wrong side to wrong side of the 41 inches side with the cuff underneath the body.


Now flip over and roll the body fabric down.

Go all the way until the roll will reach the bottom and you can see the cuff fabric.

Fold the cuff over the roll and pin so the body fabric is inbetween a sandwich of the cuff fabric.

Side view. Now you may sew all of this together.

Now pull the body fabric out of the roll. This might be a little hard, but pull the body in one hand and the cuff in the other away from each other.

Now you have a beautiful cuff with no hemming.

Ta-da!

Now fold with wrong side out and pin the side and back end of pillowcase. Press if desired. Second way is finished!


Here is the finish product of the first way!

Twiggy was unhappy about the new pillowcases when I first put them on the bed.

Finished product of second way!


Twiggy likes them now.

Ta-da!! Hope you enjoy the finished product as much as Twiggy does.

Monday, January 16, 2012

New Needle, New Project!

As you can tell from my last post I really like TOMS. The thing about the TOMS is that they come with this  flag that says TOMS. I have no idea what to use the flag for. I tried hanging it on my wall, but it just seemed weird. So I decided to take them and make them into little bags. The only I love more than shoes is little bags. I have no idea why, but I do. So let's begin. 
 Here is my TOMS flag. I have it on the ironing board so I flatten out all those pesky wrinkles.
 Next I took a zipper (p.s. you'll need a 12 inch zipper. You could maybe get away with a 9 inch one, but I used the 12 to give me a little extra room.) And pinned the front side to the front of the flag. So now the back of the zipper is facing you when you see the front of the flag. Now sew together. WARNING! Watch out for the metal garnets. They will snap your needle and not even feel bad. Hince why the post is called new needle.
Those metal things are dangerous! Also a back view of the flag/front view of zipper.
Now, you will need to unzip the zipper and pin the other sides together. Repeat the sewing steps. 
Close up of unzipped zipper. 
Now zip the zipper about halfway up. This is for you to sew the sides. Also turn the flag inside out so the actual print of the flag is currently inside. 
Pin the sides and sew. 
You don't have to close the zipper all the way. I would suggest leaving an opening of 1/4 of the bag or so. This will allow to unzip the bag once it is complete. 
Pin the other side together and sew. 
I made a little boo-boo. I wasn't paying attention and next thing I knew, there was a wrinkle.
Now you can turn inside and Viola! You have a cute little bag made out of a TOMS flag. I left the garnets showing so I could string something through them in case I wanted to add a handle.

I hope you enjoyed this tutorial. Check back soon for more awesome ideas!

Thursday, January 12, 2012

Terrible News, Great Gifts.

     So, I have been working on this cute project that I was hoping to finish today. Sadly, my sewing machine needle snapped into three pieces. I am just heartbroken. So now I will have to venture out to the local Singer and listen to them imply I am incapable of unscrewing and rescrewing a needle back in place and that I must bring my machine in so they can charge me $75 to replace the needle. So hopefully in the next few days I will be able to purchase a new needle and finish the project. In the mean time, check out these cute gifts my friends made.

     This is a cute little pillow my friend Tori made me. I just love it. She hand stitched the E on there. It looks awesome and I know you guys can't really see it, but there's a super cute beaded trim that hangs down about two inches or so. It's the cutest throw pillow I've ever had. What a great little winter break project. Maybe she'll give us a tutorial on how to make it. (:

       Next I have the cutest pair of TOMS! I love TOMS. I have like 7 pairs or so. They are just so comfortable. So I have this one pair that's just a basic off white canvas. The only problem is that I see a lot of other people wearing the same ones. So I kindly asked my art school friend Alicia to paint mine and to make them one of a kind. We looked on a few websites for ideas and come upon the perfect ones for me. I must warn you though, I am a pretty big Star Wars fan. I love them. My seven year old sister, Madison, and I am are obsessed with watching them. Now that you've been warned... She painted the shoes to look like R2-D2 and C-3PO. They are the coolest things ever and I haven't seen anybody wearing shoes like these!


     Well, I hope you enjoyed this cute little crafts. Come back in a few days and hopefully my sewing machine will be fixed! Have a great week!

Tuesday, January 3, 2012

Welcome to my blog!

No crafty posts today, just a little introduction to what I'm all about. Just as my little blurb reads, My name is Emaly and I love crafting! I love crating so much I've created this blog to share all my ideas. I'm currently a freshman at the local community college and work part-time at a local yogurt shop. So here's my ultimate guide to crafting on the college budget. I hope you enjoy!